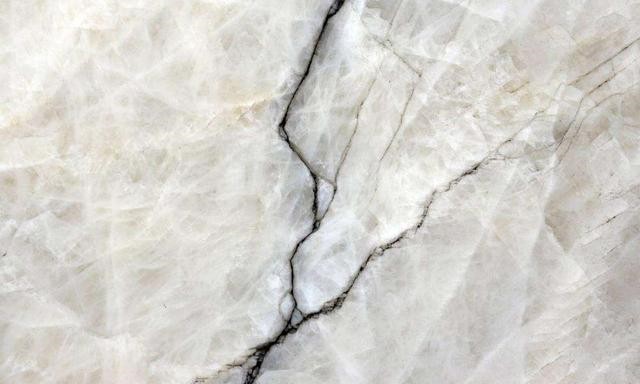
Marble and granite are popular choices for home decor and construction because of their unique beauty, durability, and resistance to wear. However, despite their hardness, these natural stones can develop cracks, scratches, or other forms of damage over time. Promptly repairing these imperfections is essential not only to preserve the beauty of the stone, but also to extend its life. This article will guide you through the process of repairing cracks in marble and granite.
Crack Repair Preparation
Before you begin the repair process, it is vital to properly prepare the area. Follow these steps to ensure a successful repair:
1. Clean up and repair the area:
Start by thoroughly cleaning the area around the crack. Use a clean rag or soft brush to remove dust, dirt, and debris. This step is critical because any impurities will prevent the repair material from bonding.
2. Assess the damage:
Inspect the crack to determine its size and depth. This assessment will help you decide on the appropriate repair method and materials required.
3. Gather tools and materials:
Gather the tools and materials needed for the restoration process. Common items include:
Special glue for stone: Choose a high-quality adhesive designed specifically for marble or granite.
Filling: If the crack is deep, you may need a filling material to even out the surface.
Sandpaper: Sandpaper of different grits will be needed to sand the repair area.
Polishing compound: Once the repair is complete, a polishing compound will help restore the shine to the surface.
Stone-Specific Glue or Filler Repair
Once you’ve prepared the area and gathered your materials, follow these steps to repair the crack:
1. Mixed repair glue:
Mix the stone repair glue or filler with the hardener in the specified proportion according to the product instructions. Always wear gloves during this process to prevent the adhesive from contaminating your skin.
2. Gluing:
Use a scraper or plastic blade to evenly apply the mixed repair glue to the crack surface. For deeper cracks, fill the cracks with glue and then gently scrape to ensure a smooth surface.
3. Remove excess glue:
As the glue begins to set, wipe any excess glue off the surface with a damp cloth. This step is critical to avoid leaving uneven marks or residue on the stone.
4. Curing:
Allow the glue to fully cure according to product specifications. Most repair adhesives require approximately 24 hours to fully cure. During this time, avoid applying any pressure or impact to the repair area to ensure a secure bond.
Polish the Repaired Area with Sandpaper
After the glue cures, you may notice some raised or uneven surfaces. Sanding the repaired area with sandpaper can help restore its smoothness. Follow these steps:
1. Choose the right sandpaper:
Choose sandpaper of different coarseness and fineness according to the condition of the surface after the crack repair. For larger repair areas, use coarse sandpaper to flatten the surface first, and then use fine sandpaper to smooth the surface.
2. Polishing:
Sand the repaired area gently and evenly, gradually smoothing out any raised areas and making sure it is flush with the surrounding stone surface. Be careful not to use too much force, as this may damage the stone.
3. Check smoothness:
Check the smoothness of the repaired area regularly during the polishing process. This will help ensure an even result and allow you to make adjustments as needed.
4. Final touches:
Once the area is polished to your satisfaction, you may want to apply a polish to restore the shine and blend the repaired area with the rest of the stone.
In Conclusion
Repairing cracks in marble and granite is a manageable DIY task that can significantly improve the appearance and life of your stone surface. By following the preparation steps, repair process, and polishing techniques described above, you can effectively address crack issues and preserve the beauty of your natural stone. Regular maintenance and timely repairs will help ensure that your marble and granite surfaces remain beautiful for years to come. Whether you’re a DIY enthusiast or a homeowner looking to protect your investment, these simple steps can significantly improve the care of your stone surfaces.
Post time: Jan-10-2025

