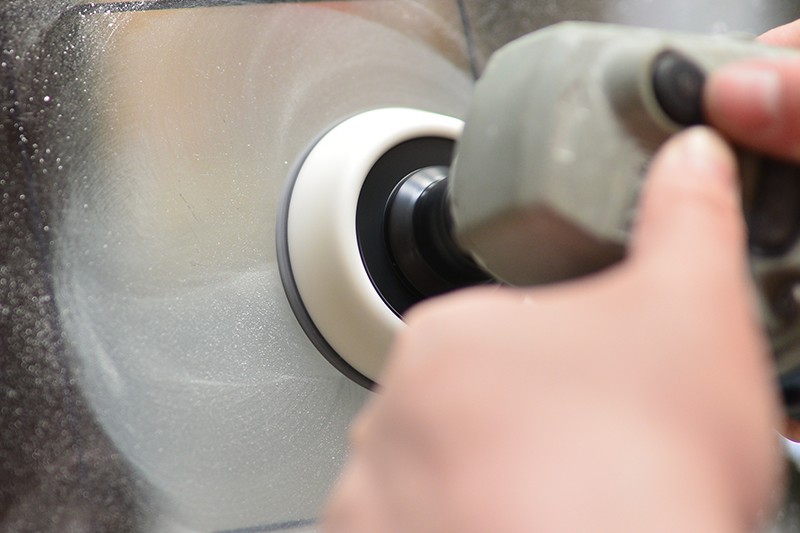
What is a sander?
A sander is a power tool commonly used for polishing and grinding surfaces on a variety of materials, including metal, glass, ceramics, and wood. Its working principle is to use a rotating grinding wheel or other abrasive to generate high-speed rotation and friction on the surface of the object. This process effectively changes the texture and finish of the surface, allowing the material to be sculpted and optimized.
There are several types of sanders available, each designed for a specific application. Some common types of sanders include belt sanders, disc sanders, orbital sanders, and drum sanders. Each type of grinder comes with different mechanisms and grinding materials to meet specific grinding needs.
For example, a belt sander features a continuous ring of sandpaper that rotates around two cylindrical drums and uses sanding belts to quickly remove material and smooth large, flat surfaces. Disc sanders, on the other hand, use a round sanding disc to achieve similar results on smaller workpieces. Orbital sanders are known for their random orbital motion, which provides a swirl-free surface, making them suitable for fine sanding and polishing tasks. Drum sanders are commonly used in woodworking, utilizing a rotating sanding drum to smooth and flatten wooden surfaces.
Regardless of the type, a sander is an essential tool in every industry. They are used to obtain smooth, even surfaces, and remove imperfections.
Preparation
1. Install the Grinding Wheel:
Wheel Selection: Consider the material you’re sanding, the desired finish, and the machine’s specifications when choosing a grinding wheel. The grit size will determine the aggressiveness of the sanding process.
Secure Installation: Ensure the grinding wheel is securely fastened to the machine’s spindle according to the manufacturer’s instructions. Improper installation can lead to catastrophic failure.
2. Check the Grinding Wheel:
Visual Inspection: Look for cracks, chips, or other signs of damage. A compromised wheel can shatter during operation.
Balance: Ensure the wheel is balanced to prevent vibration and premature wear.
3. Check the Sanding Machine:
Safety Guards: Verify that all safety guards are in place and functioning correctly.
Electrical Components: Inspect for damaged cords, plugs, or switches.
Machine Stability: Ensure the machine is securely mounted on a stable surface.
4. Prepare the Workpiece:
Material Removal: Remove any loose material, dirt, or debris from the workpiece.
Workpiece Support: Secure the workpiece to a stable work surface or use a workpiece holder if necessary.
5. Wear Protective Equipment:
Eye Protection: Safety glasses are essential to protect against flying debris.
Hearing Protection: Earplugs or earmuffs can help reduce noise exposure.
Respiratory Protection: In dusty environments, a respirator can protect your lungs.
Gloves: Gloves can protect your hands from cuts and abrasions.
Powering Up and Initial Setup
1. Connect the Power Supply:
Ensure the power source matches the sander’s voltage and amperage requirements.
Use a grounded outlet to minimize electrical hazards.
Inspect the power cord for any damage before plugging it in.
2. Adjust the Grinding Wheel:
Applicable to angle grinders or bench grinders:
Adjust the wheel’s position to ensure it’s centered and securely clamped.
Set the desired depth of cut by adjusting the work rest or table height.
Consider using a wheel dresser to maintain the wheel’s profile and sharpness.
3. Start the Sander:
Gradual Start-up: Allow the sander to reach full speed before applying it to the workpiece.
Firm Grip: Maintain a secure grip on the sander to control its movement.
Operation Details
1. Adjust the Grinding Wheel Speed:
Match Speed to Material: Different materials require varying speeds. Softer materials generally benefit from lower speeds to prevent burning or gouging. Harder materials can tolerate higher speeds.
Test and Adjust: Experiment with different speeds to find the ideal setting for your specific task.
2. Maintain Sander Stability:
Even Pressure: Apply consistent pressure to the sander to avoid creating uneven sanding marks.
Overlapping Passes: Overlap each pass slightly to ensure a smooth, consistent finish.
Ergonomics: Maintain a comfortable grip and posture to reduce fatigue and improve control.
3. Follow a Sanding Sequence:
Progression: Start with a coarser grit to remove material quickly, then gradually move to finer grits for smoother finishes.
Cross-Grain Sanding: To eliminate scratches, sand in a direction perpendicular to the previous pass.
4. Control Sanding Pressure:
Light Touch: Avoid excessive pressure to prevent gouges and prolong the life of the sanding disc.
Material Removal: Adjust pressure based on the material’s hardness and the desired rate of material removal.
Proper Shutdown Procedures
1. Stop the Sanding Machine:
Gradual Release: Allow the sanding disc to come to a complete stop before turning off the machine. This prevents abrupt changes in stress on the motor and bearings.
2. Clean the Work Area:
Dust Removal: Thoroughly clean the workpiece, the sanding machine, and the surrounding area to remove dust and debris.
Grinding Wheel Inspection: Inspect the grinding wheel for wear, damage, or imbalances. Replace or dress the wheel as needed.
3. Turn Off the Power:
Unplug the Machine: Disconnect the sander from the power source to prevent accidental startup.
Store Safely: Store the sander in a dry, secure location away from moisture and extreme temperatures.
Post time: Aug-01-2024


